I made a few fabric wreaths years ago for a baby shower that were an instant hit. A girlfriend of mine suckered me into doing her daughter’s fifth birthday party by sending me a ton of pins of things she wanted to buy, but I knew were easy DIY projects. I’m that friend. Just show me what you want and I instantly say “I can make that!” never mind what else is going on in my life. 😉
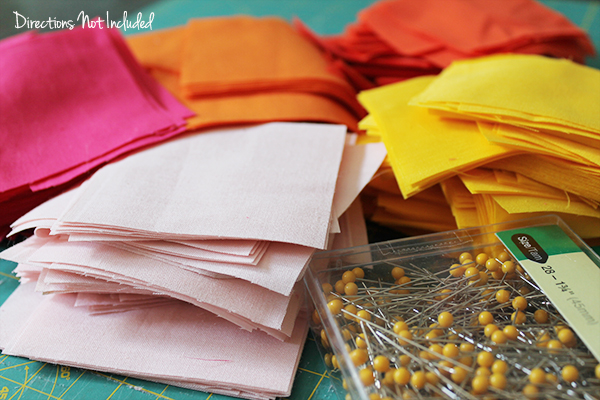
So this is my colorful fabric wreath tutorial. I used the same basics from my fabric wreath tutorial just with a lot of color. I bought a few yards of different fabric in the color scheme she wanted for the party. I used my rotary cutter and cut out tons of squares of fabric. It is repetitive work, but it doesn’t have to be precise at all so it is really isn’t that bad. I’m not great at cutting fabric straight when I’m trying so this is the perfect, imperfect craft. Get a big ‘ol box of pins too because you will need a ton.
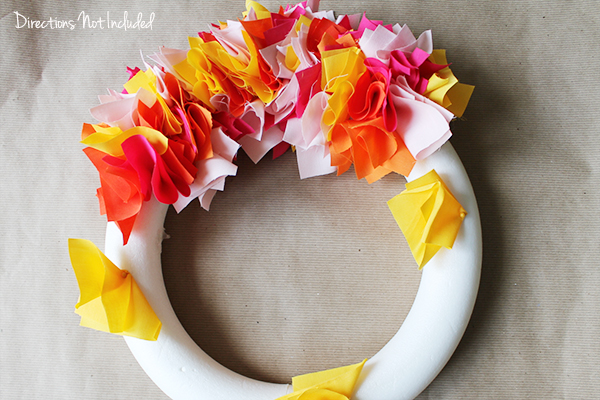
I used a basic foam wreath form since it is easy to stick the pins in. I’m not going to lie, these wreaths take time. I want to say this took me about an hour and a half or so to fill in the wreath. I only know that because I was watching HGTV while making it and I went through about three, almost four 30-minute episodes of “Flip or Flop”. You’ll notice in the picture, there are 3 random yellow fabric pieces evenly spaced. It helps me feel like I’m making progress when I can see that I’m getting closer to my markers. I’m very goal driven as you can see 😉
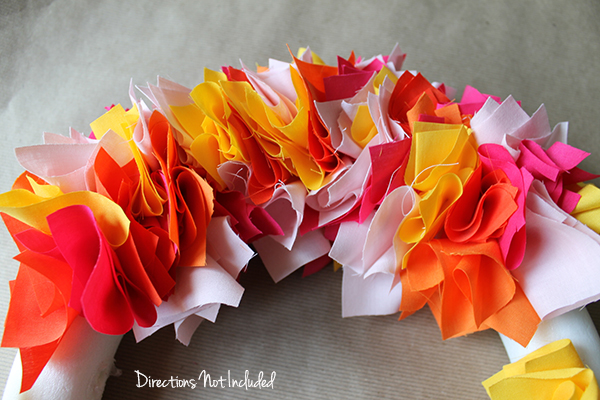
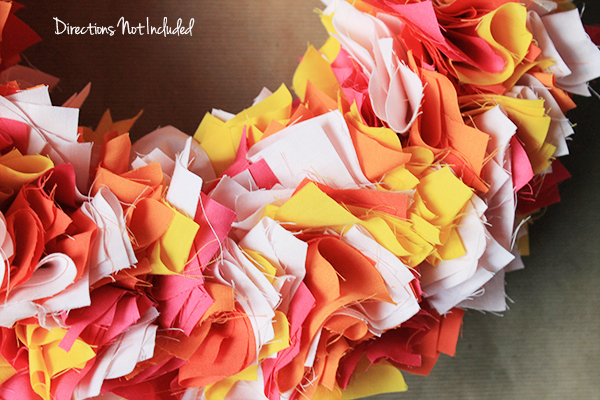
After what feels like a million pieces of fabric, the wreath really starts to take shape. In my first fabric wreath tutorial, I used all white so I used one piece of fabric or sometimes two at a time. This time, I used two pieces of the same color fabric for each pin. It made a difference is making the colors meld together and the wreath look fuller, faster.
I fell in love with the color scheme while making these. It is so bright and cheery!
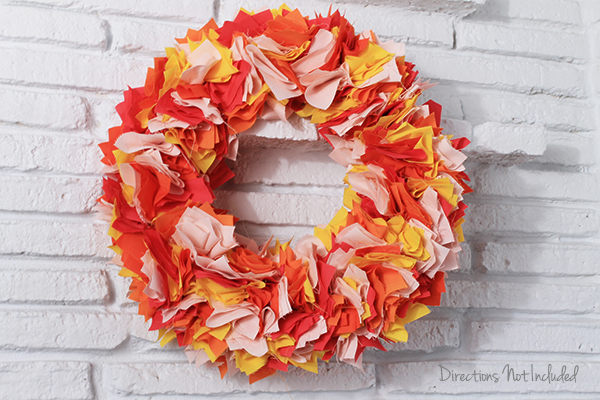
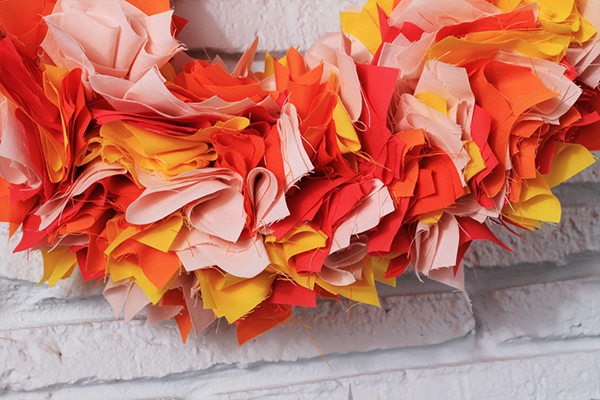
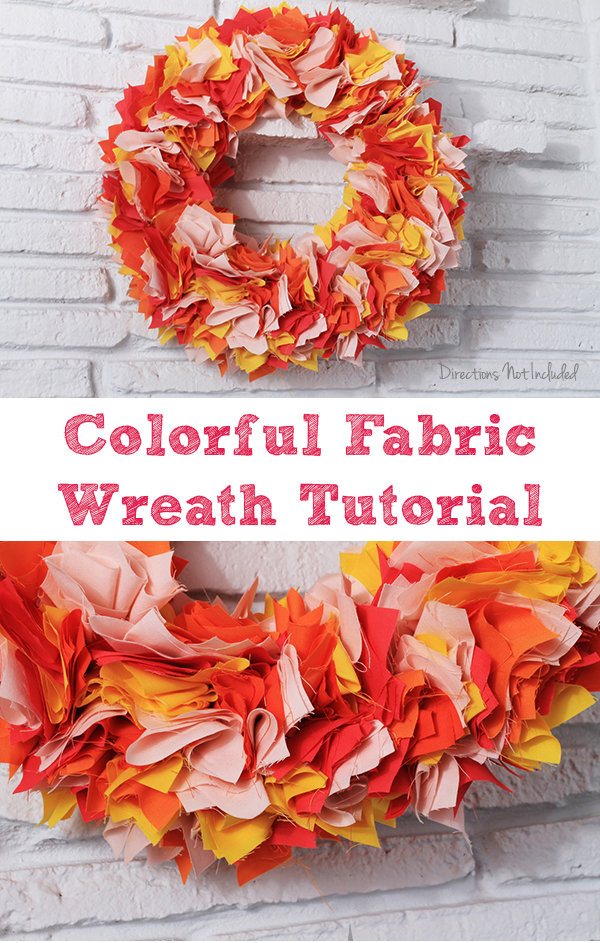
And here is the final form. Since this is going on a glass front door, I actually filled out both sides of the wreath. If you do this, be careful with exposed pins from the other side. You will get stabbed a few times if you are not careful.
So there you have it, a colorful fabric wreath tutorial. For the birthday party, I’m hanging it with a gold ribbon and there will be a big glitter number 5 hanging in the center.
What do you think? I’m excited to see the party come together. Lots more to do in the next two weeks!
Linking up to my favorite parties here: Creativity Unleashed, Monday Funday , Friday Finds Link Party
What a cute wreath! Love the fall colors. I’m so ready for cooler weather, but I guess you don’t really look forward to that being in Miami 🙂
We don’t get cooler weather! I would gladly take it for a while 😉
oooh this is SO fun! i love the colors and love that it’s fallish but really happy and bright and fun!
I NEVER thought it was fall like since we don’t get fall here but everyone keeps telling me that! It is so fun. Thanks 🙂
Love it and it could be a project for my daughter and me to make.
It is easy but I would be careful with the pins. Maybe you can use shorter pins or other adhesive? I would hate for her to prick her little fingers.
what a fun wreath, love it.
Thanks Laura 🙂
It looks great and super fun!
Thanks! 🙂